RENTAL HOUSE: THE KIDS' SCHOOL AT HOME ROOM REVEAL!
I can hardly believe that today’s reveal has the words ‘home’ and ‘school’ in it. I can honestly say that I never expected to be repurposing an entire room in the house to be dedicated to our kids’ learning. The kids have been home since March and as of now, we aren’t sure whether school will resume in its’ regular form this coming September.
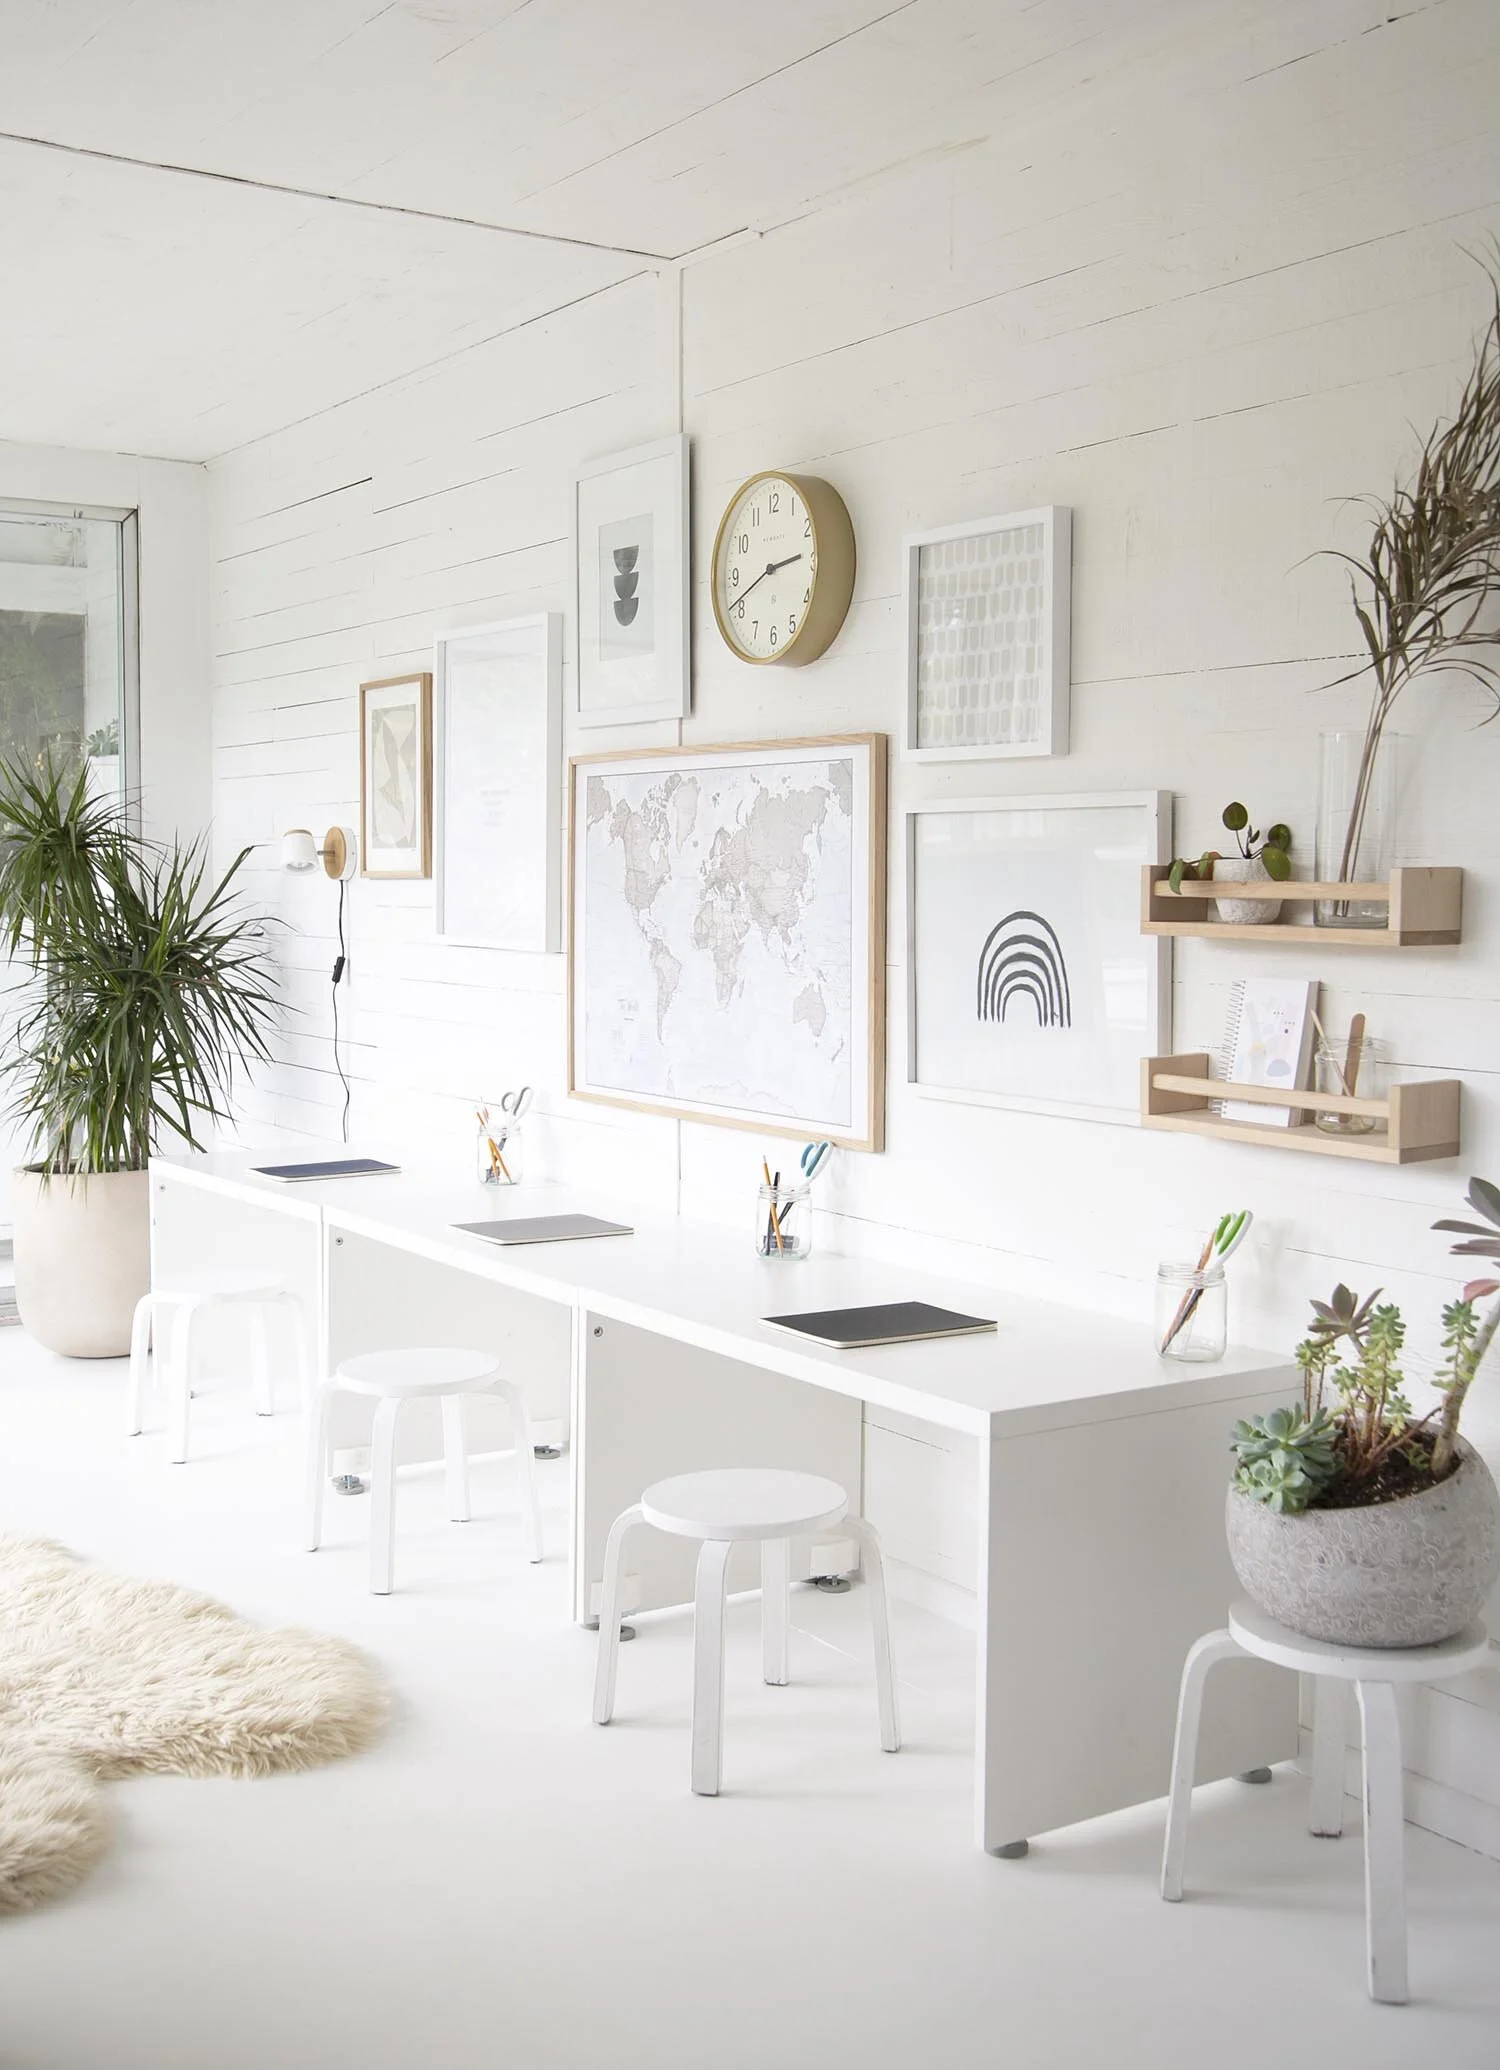
This room is as simple as a room gets (see the before and in progress here), but it’s amazing what a big impact white paint and a good ‘ol gallery wall can have!
With that, let me introduce you to our new ‘school at home’ room!
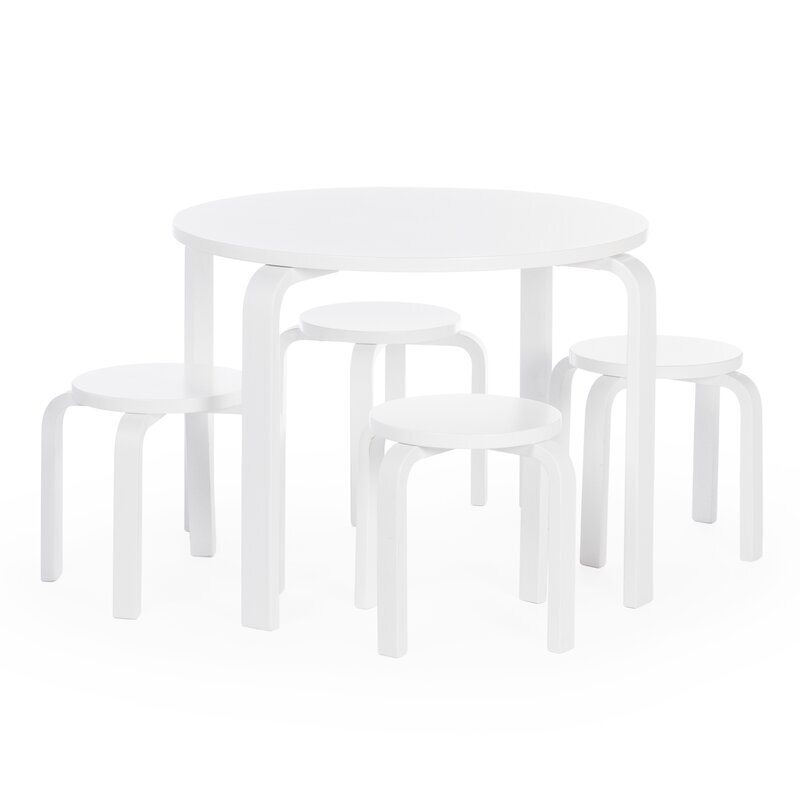
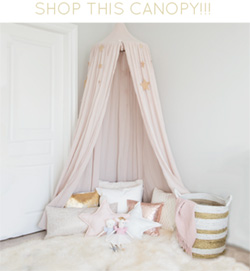
SHOP THE LOOK…

Okay, I love a good before and after so I had to add the original photo I took the first time we saw the rental back in, just to show you the comparison. What do you think?

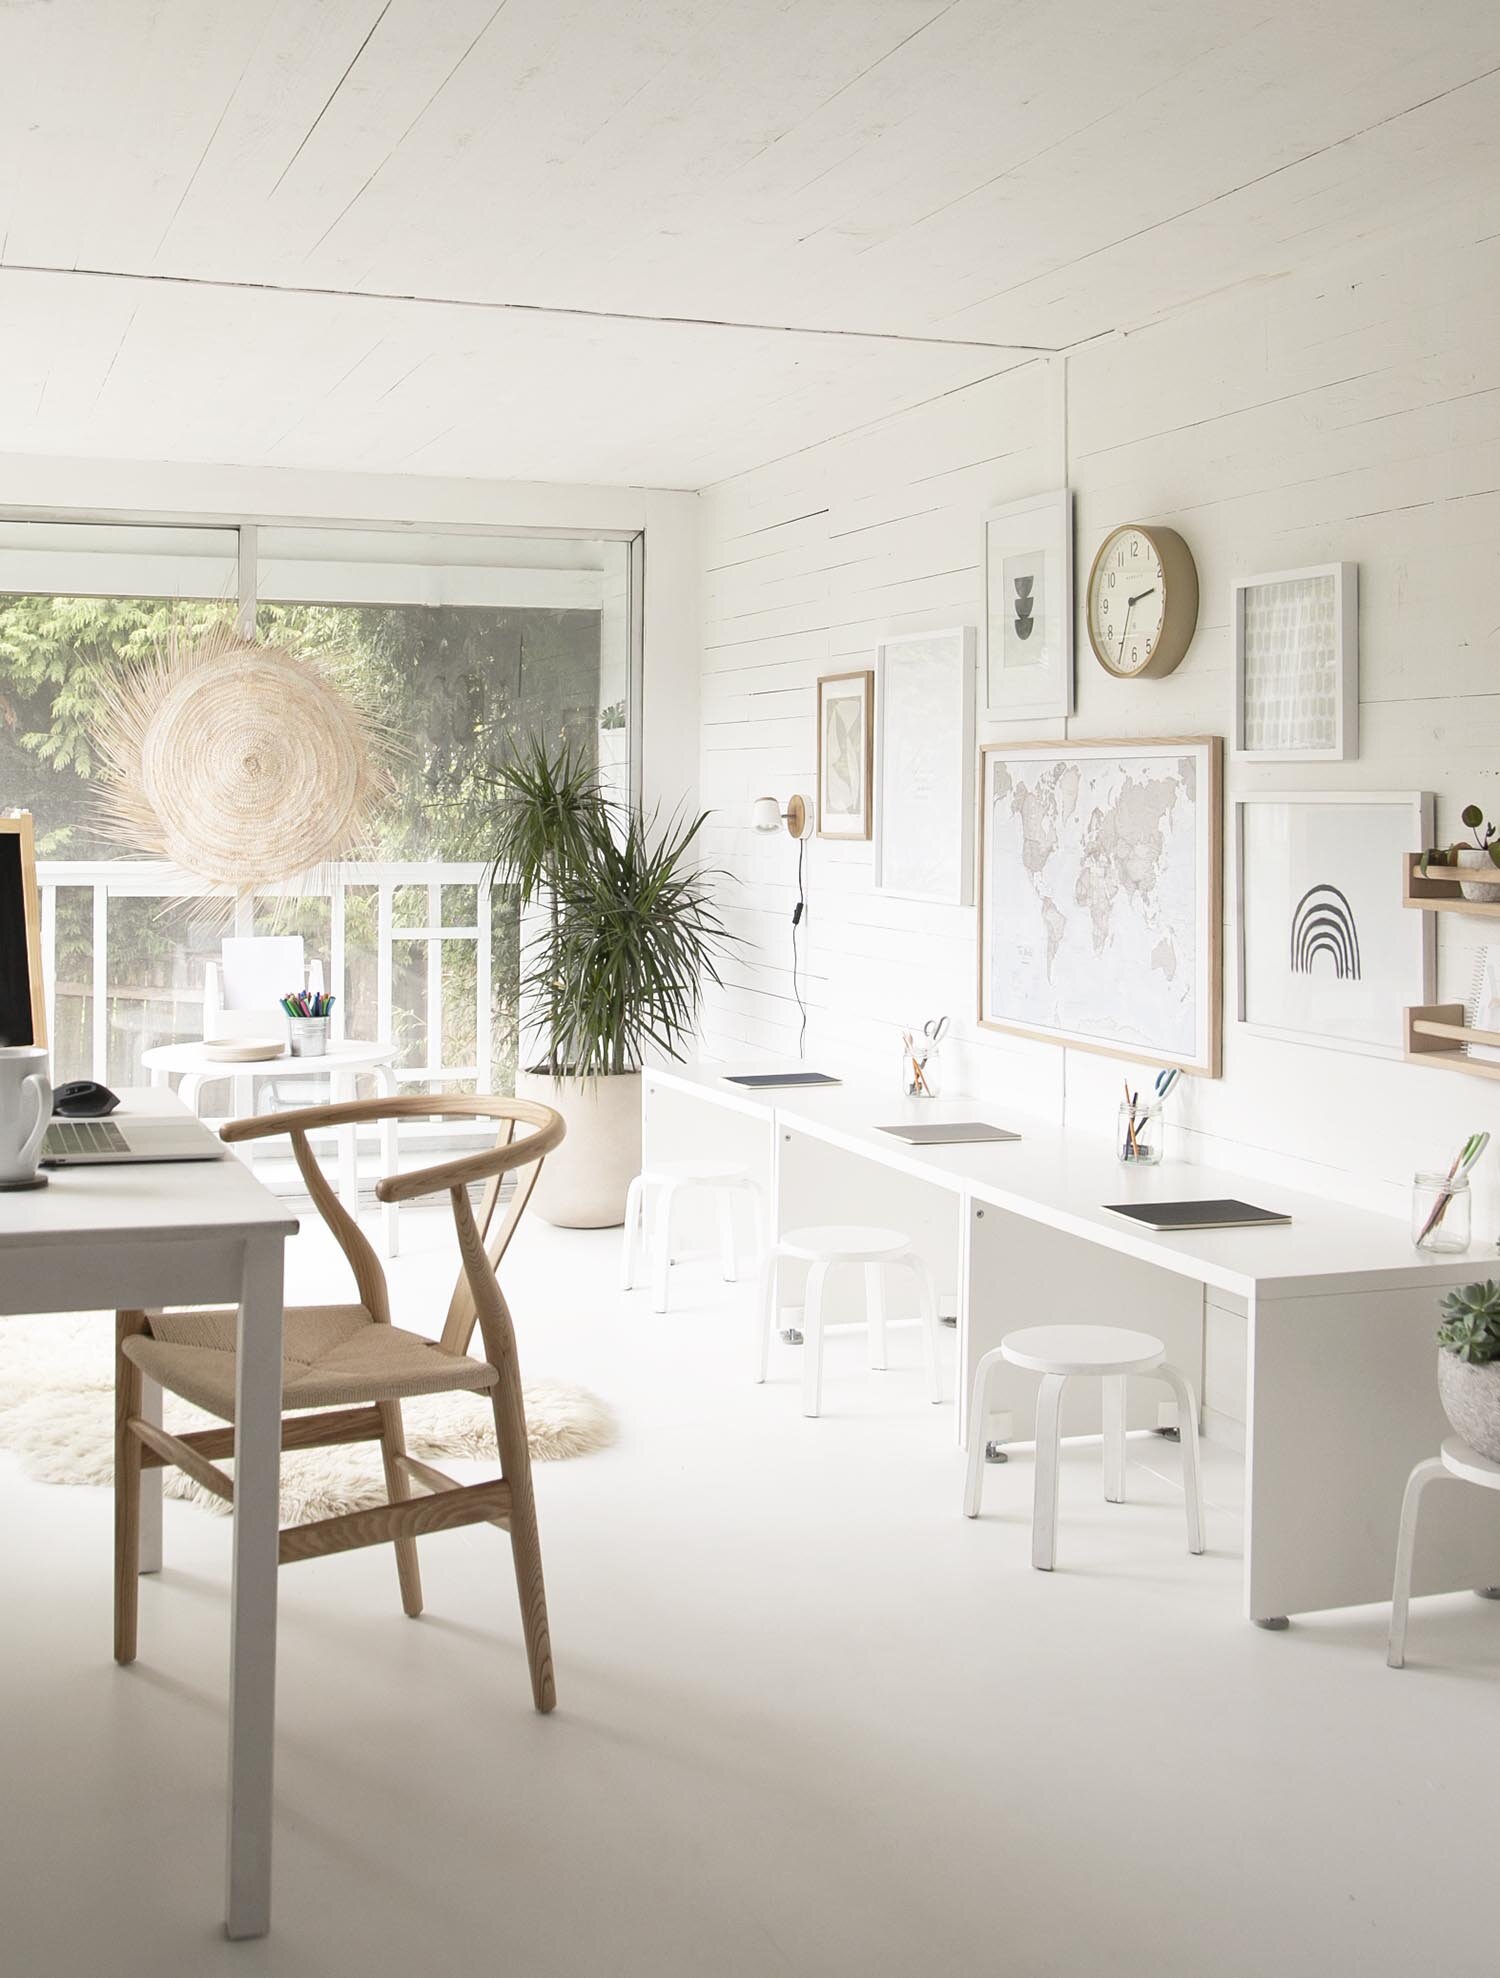
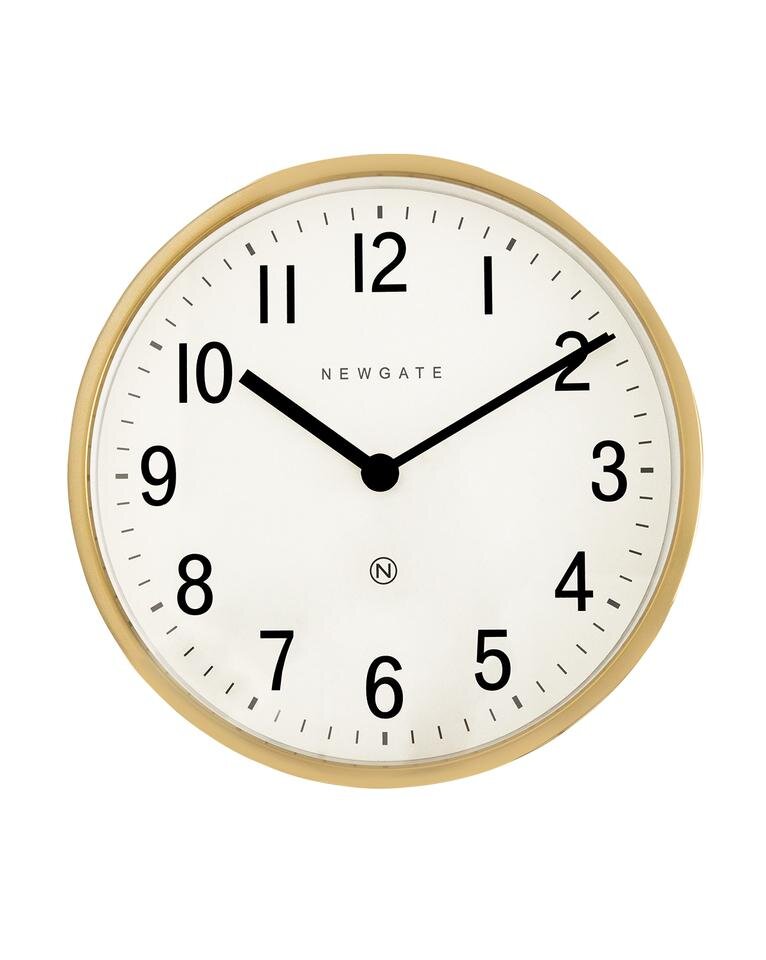
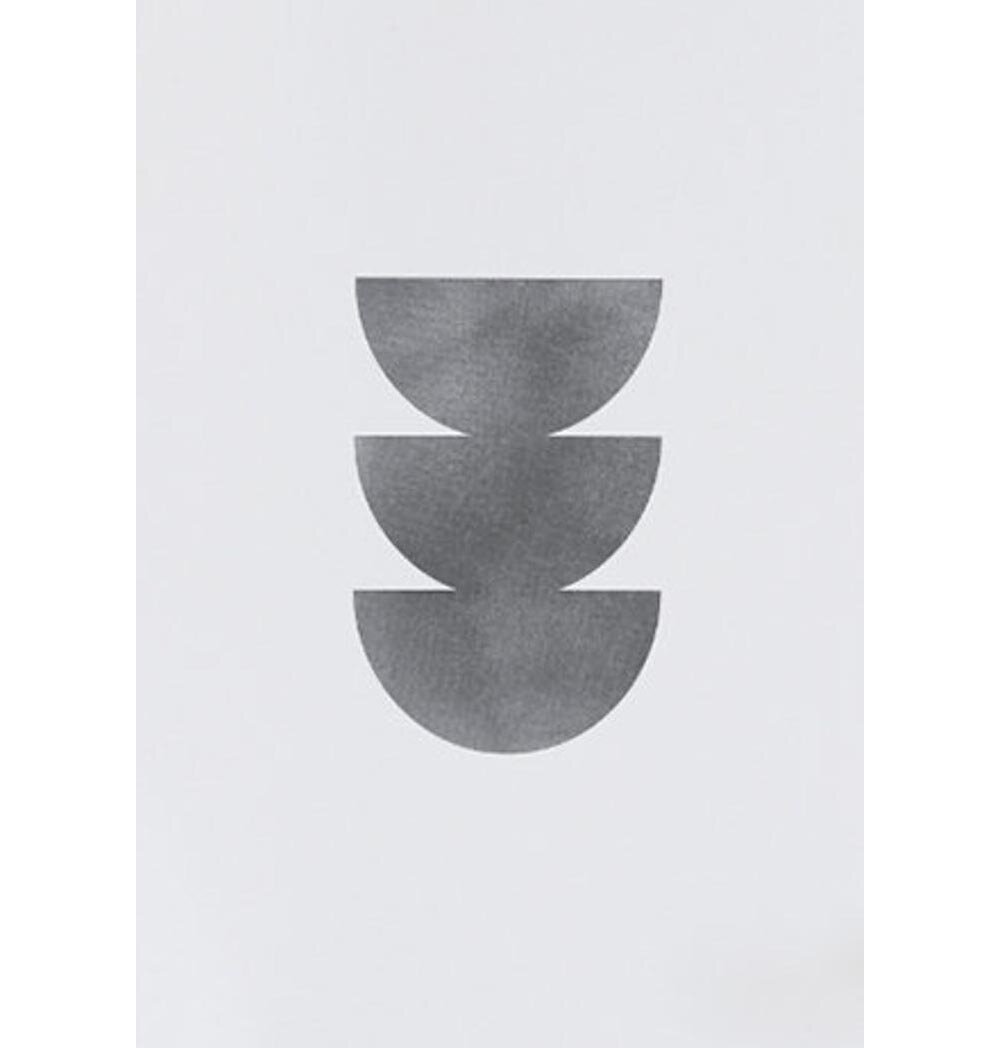
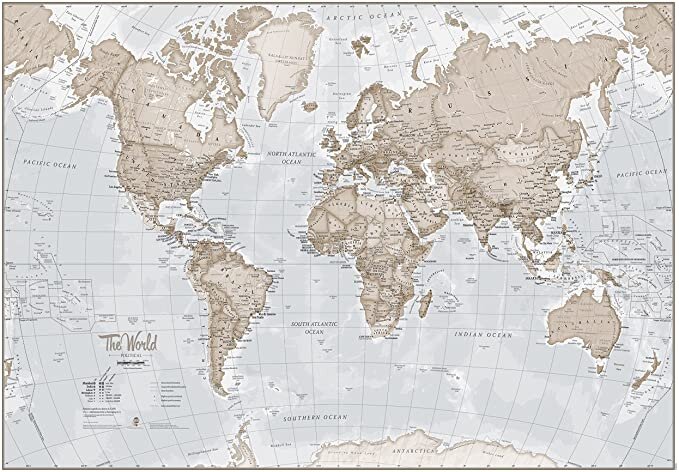
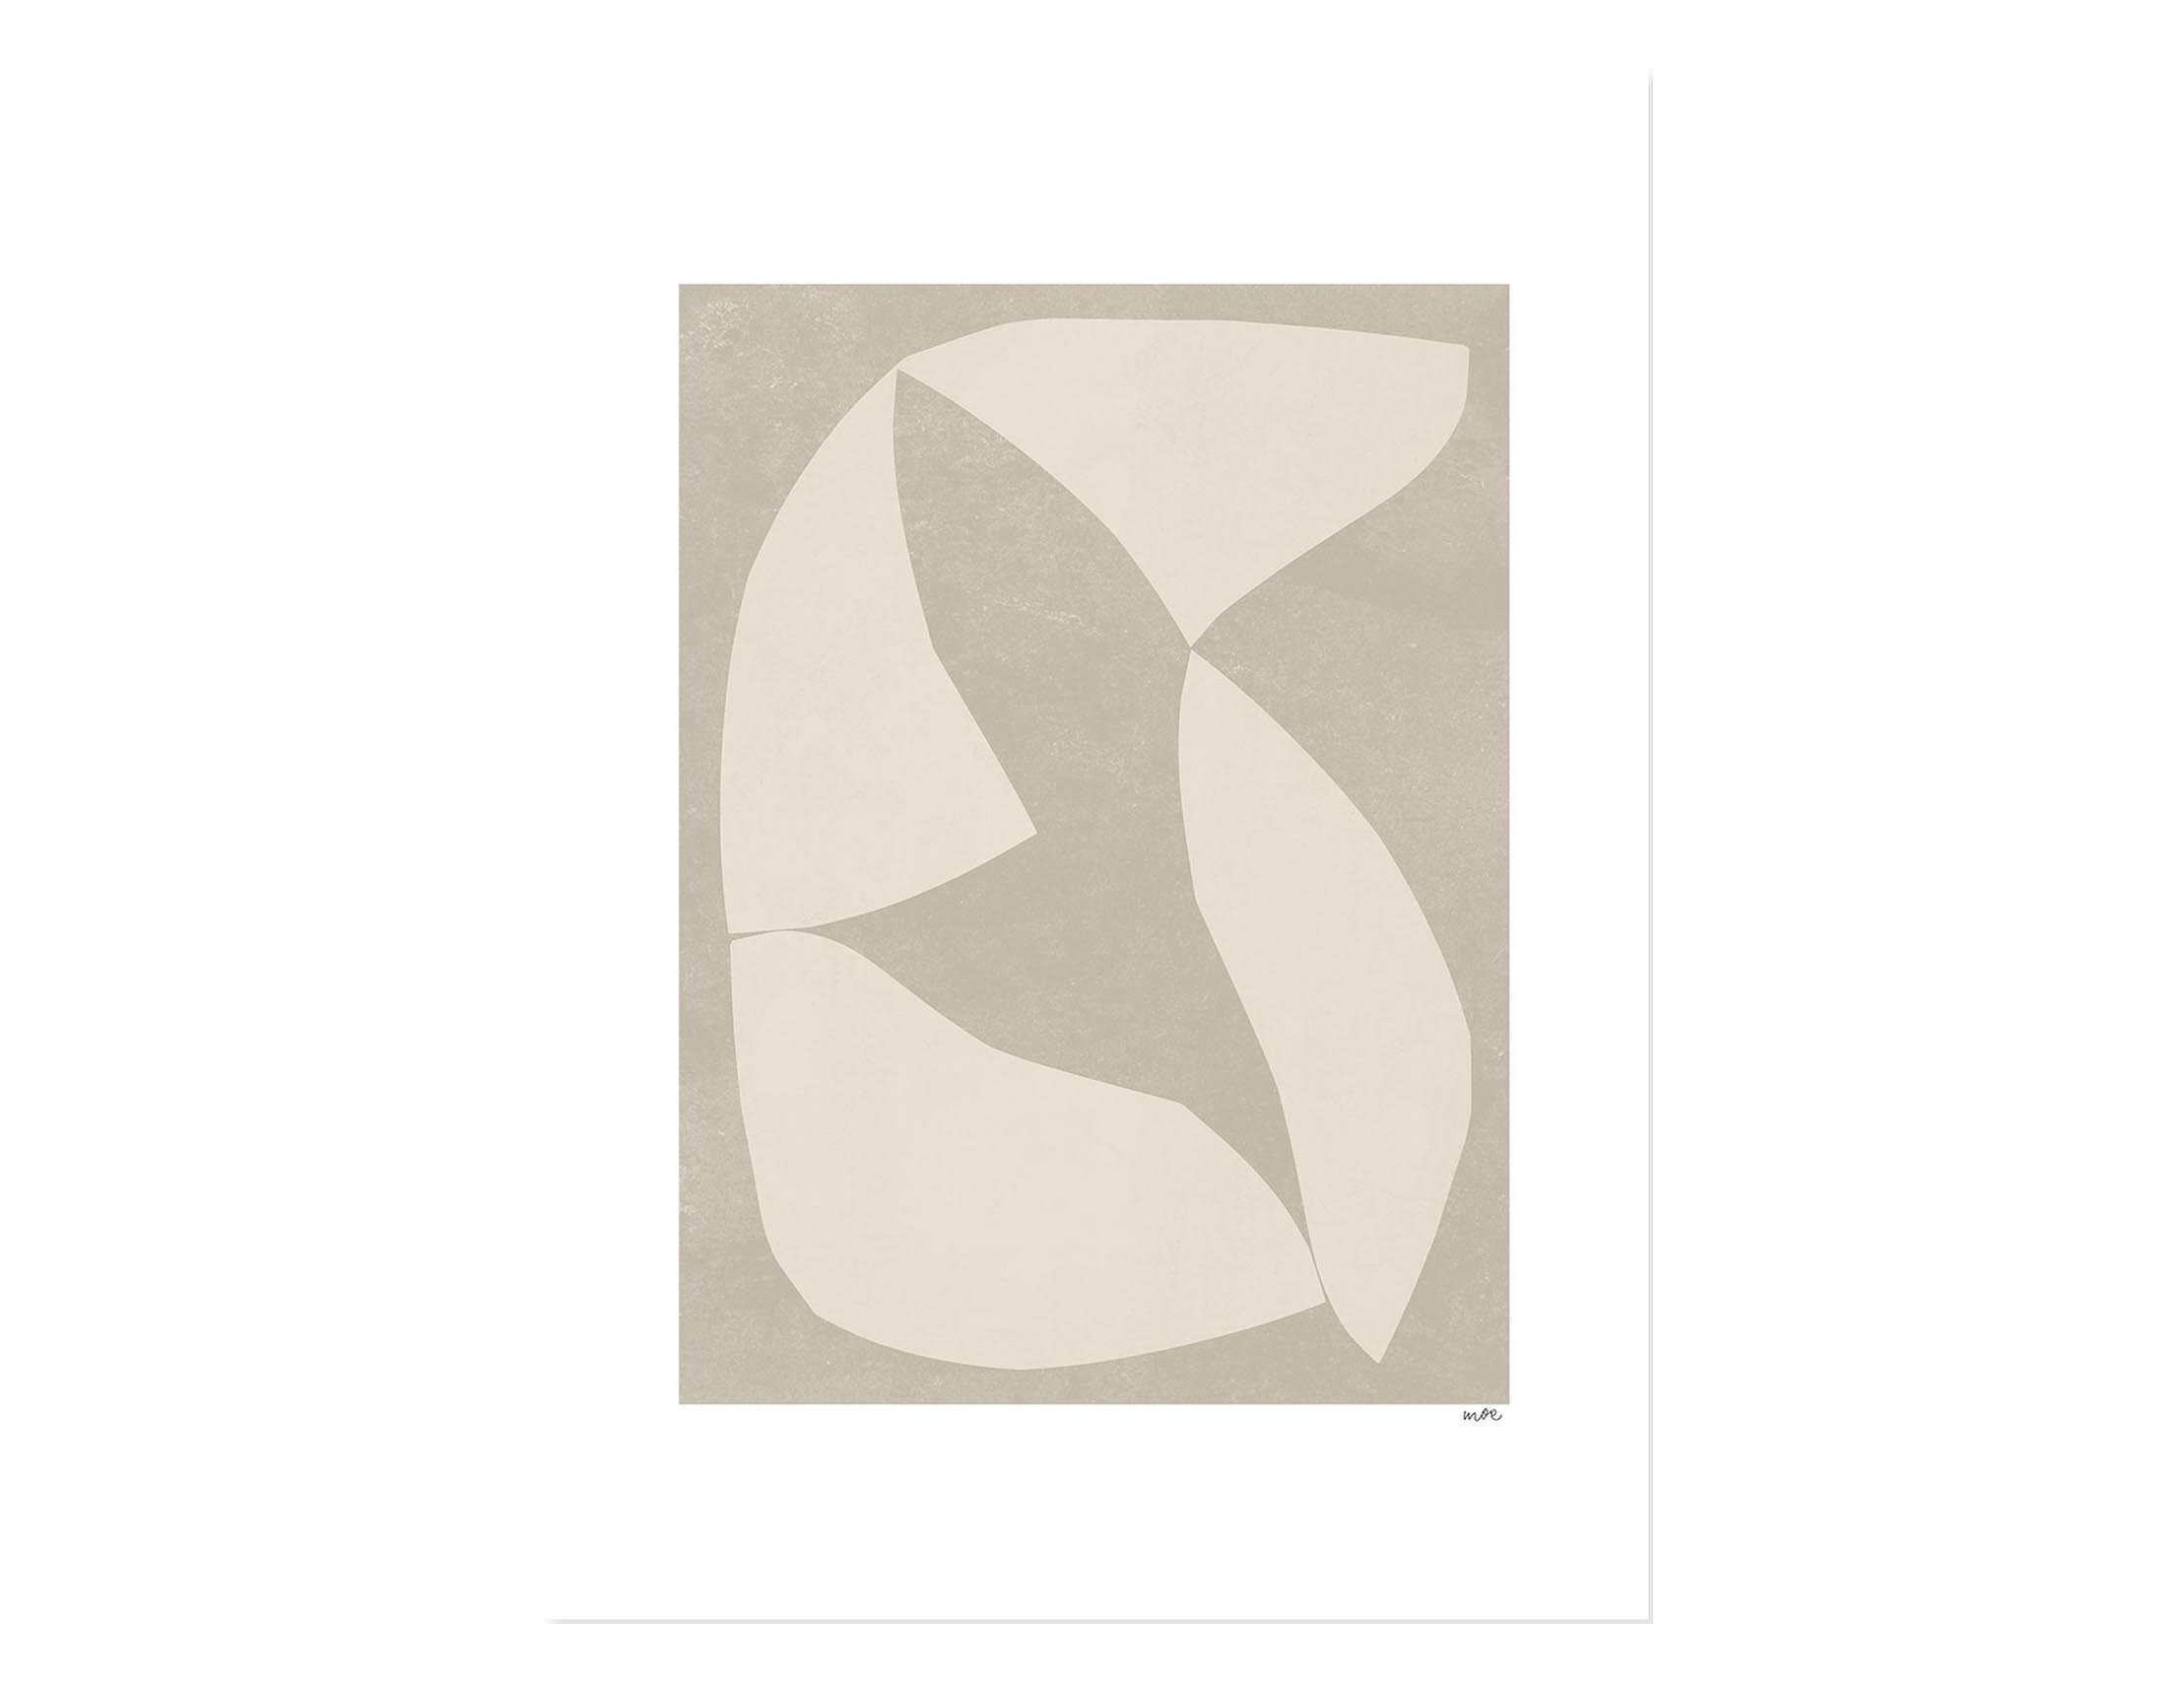
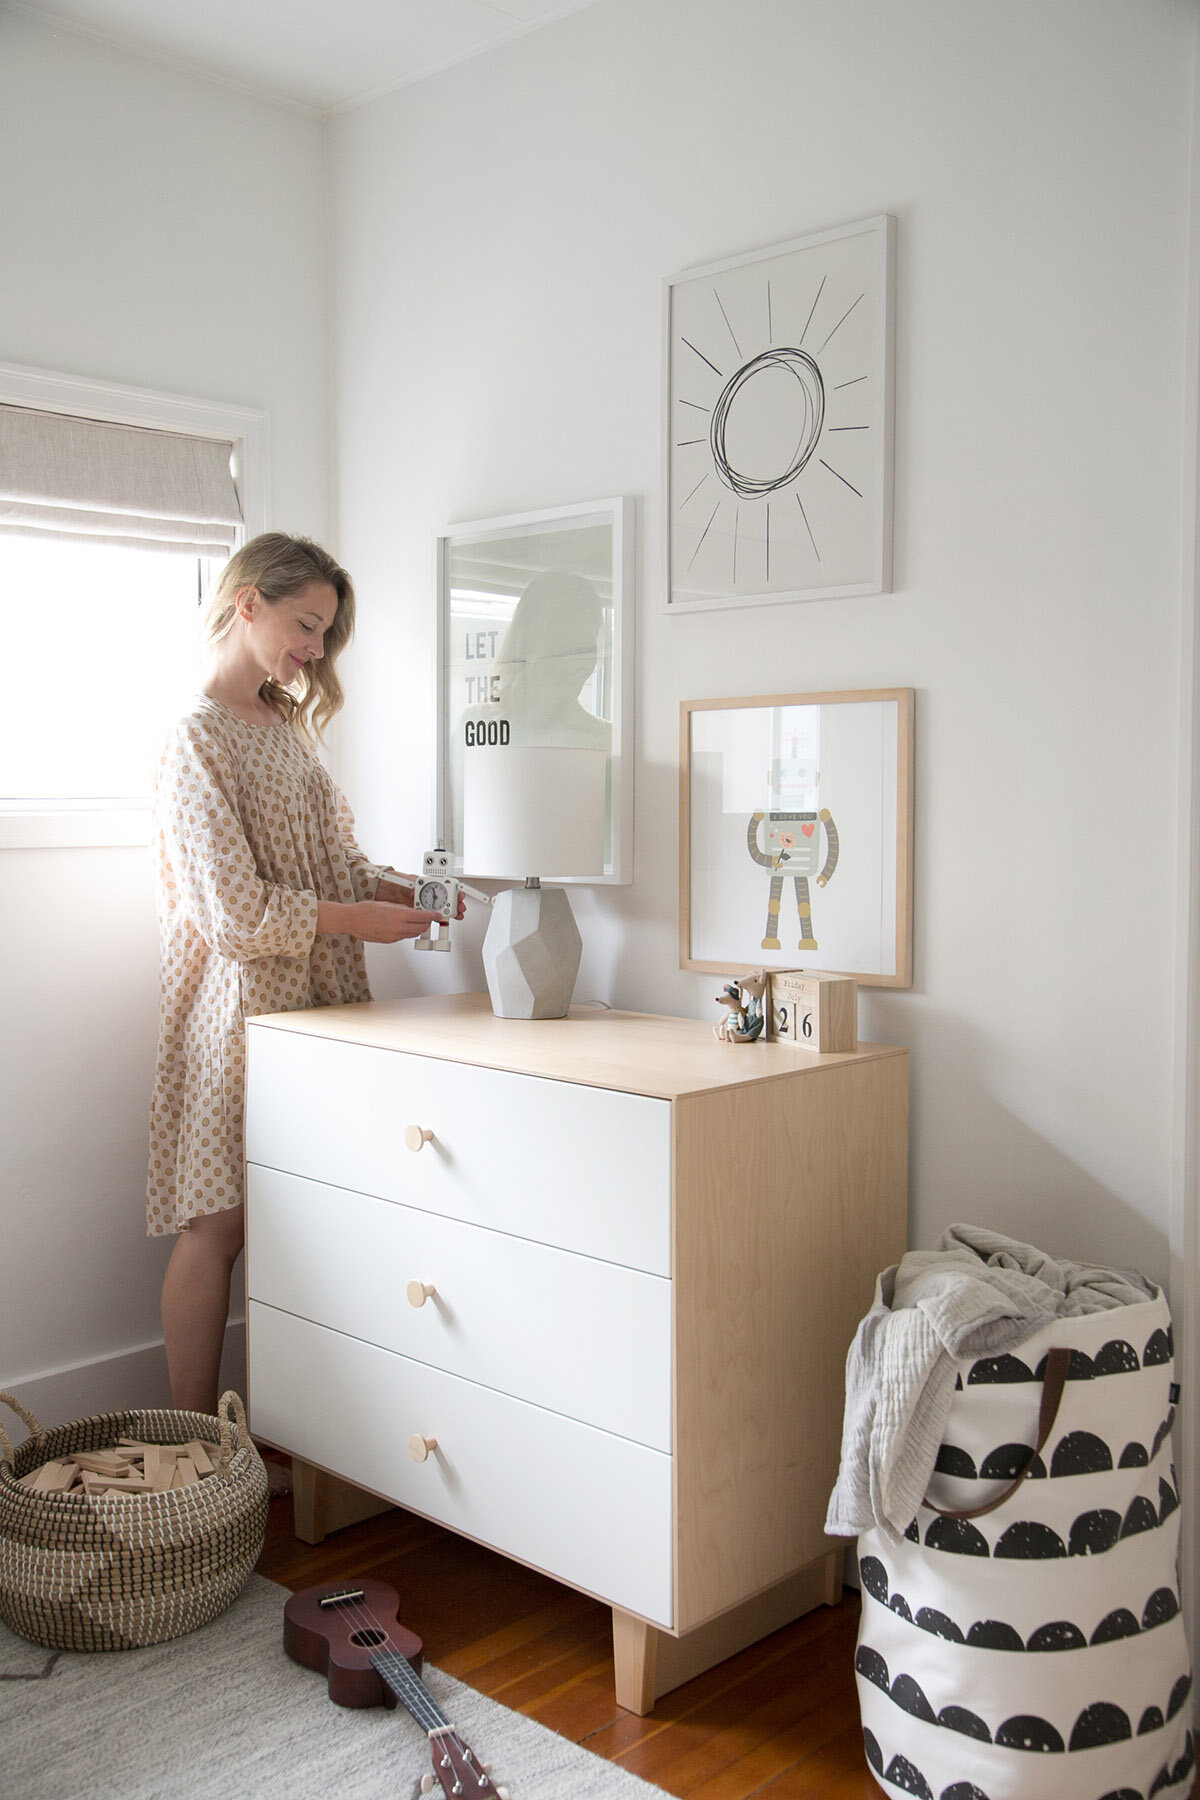
A wall clock was a key item on my list for the gallery wall because our kids have just learned to tell the time with an analog clock, and this gold one is so cute! The world map was another thing I have wanted to hang in a space the kids could see for as long as I can remember. We talk about geography all the time and this map is the perfect one for quick and easy hanging. The square frame is leftover wallpaper from Xavier’s room and the print on the top left reminded me of 3 snack bowls, which I feel like I am constantly filling for the kids. Ha.

The light in this space is truly the best part, with sun shining in each morning. It’s the perfect place for plants to thrive and the kids love to help water them each week.


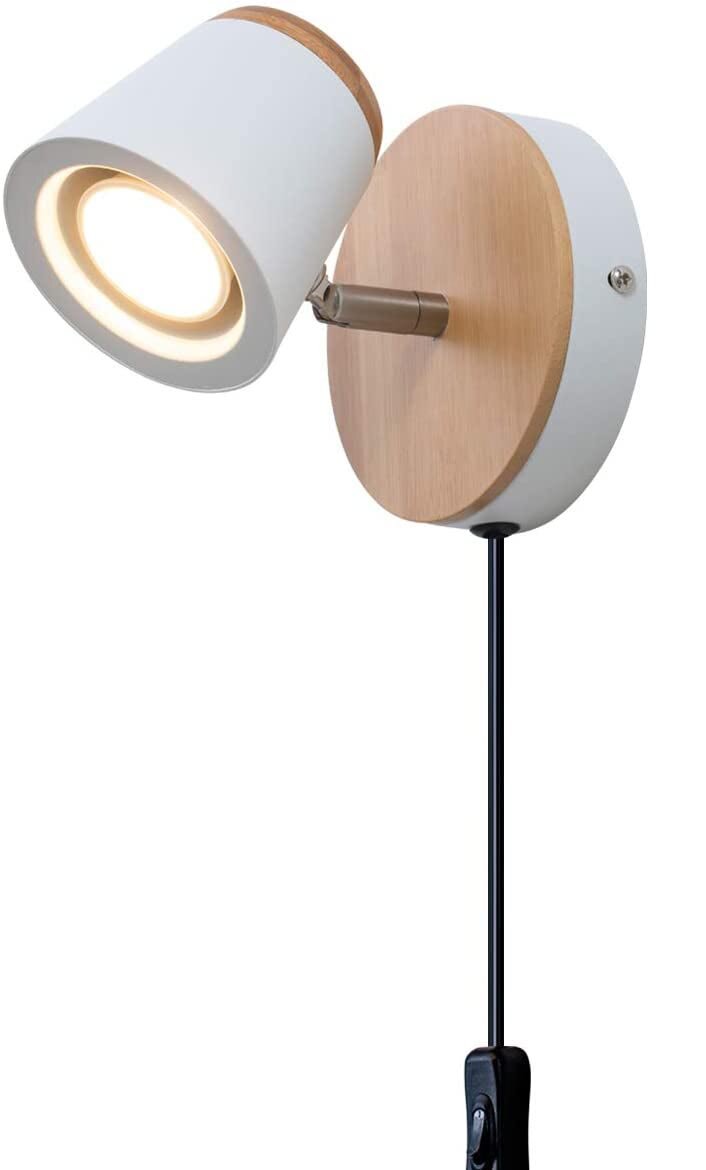
SHOP THE LOOK…


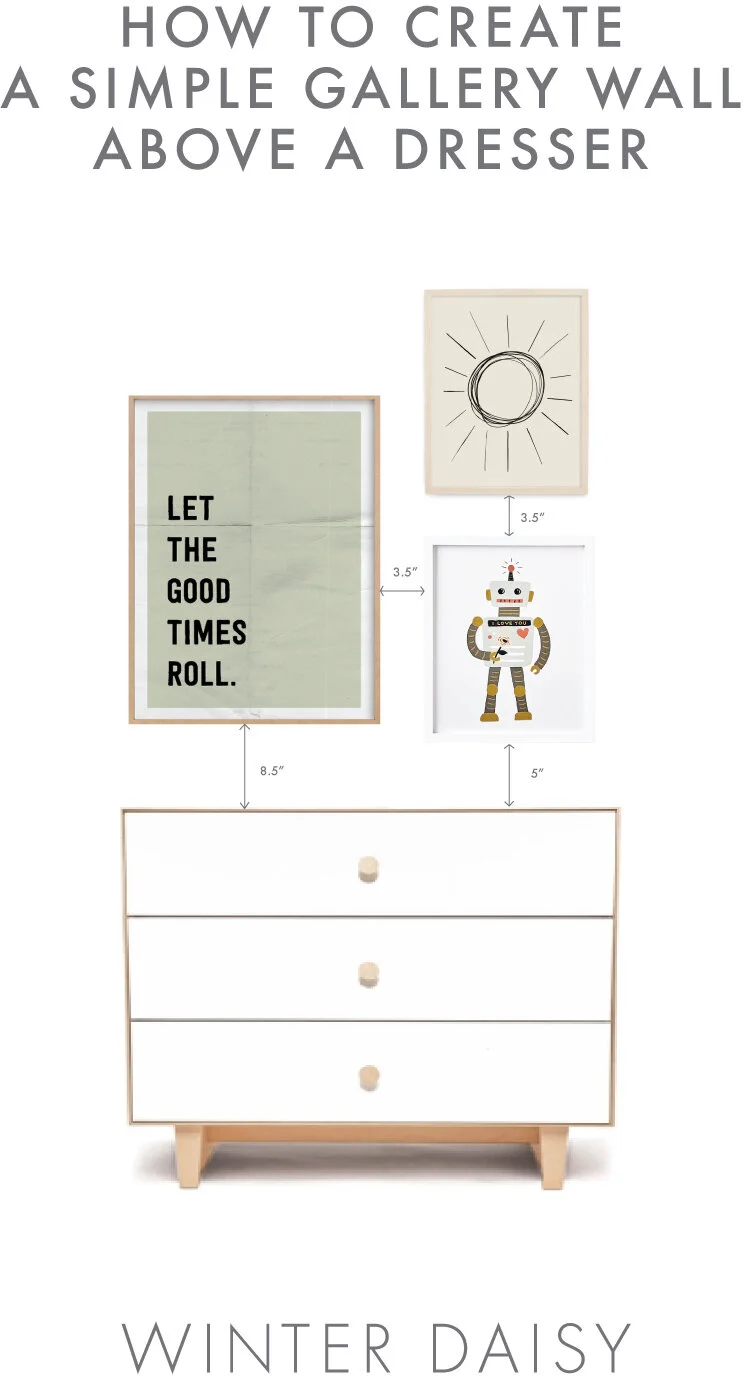
HOW TO CREATE A SIMPLE GALLERY WALL ABOVE A DRESSER
It may be a bold statement but we truly believe that artwork is what brings a space to life! A real match for a room is when the artwork reflects the little one who lives there and these prints add a fun punch of personality to Xavier’s room. Hanging artwork can be tricky so today we are going to show you how!

SHOP THE LOOK…


STEP #1.
Start by choosing artwork that blends in colour and theme to the rest of the space. With artwork for a simple gallery wall, choose 3 good size prints and frame them to fill the width of the dresser.
STEP #2.
Get the spacing right. See below for our guide to spacing. Ensure that the first print is hung 4-6” above the top of the dresser. The group of 3 should be thought of as 1 entire art piece. Measure the centre of the trio to be about 57-60” from the ground.
STEP #3.
Space the frames close enough together so that they look like they belong. For this trio, the frames are 3.5” apart; 2-3” is a good guideline. You can use painters tape to rough out the frames on the wall to give you an idea of how they will look before hanging them.
Pin this image for future reference!
HELLO!
WINTER DAISY was created when Melissa Barling was laying on the couch while pregnant with twins. She dreamed of a beautiful baby room but couldn't get up and make it happen. The babies were born and in those mid night wakes and early morning feeds, she decided to leave her corporate job to start a design studio + blog. Welcome to WINTER DAISY.
Follow along on Instagram
POPULAR POSTS...


CATEGORIES
- BOOKS WE LOVE
- BOYS ROOMS
- DESIGN TIPS
- DIGITAL
- DIYs
- EFFICIENT MAMA
- FAVOURITE FINDS
- FREE PRINTABLES
- GARDENING WITH KIDS
- GIRLS ROOMS
- GIVEAWAYS
- HELLO
- HOLIDAY
- HOMESCHOOL SPACES
- HOW TO...
- I'M MELISSA
- INSPIRATION
- KID STYLE
- KIDS ROOMS
- MINI GATHERINGS
- MY FAMILY
- NURSERIES
- OH MONDAY!
- ORGANIZATION
- PICKS
- PLAYROOMS
- RECIPES
- RENTAL HOUSE
- RENTAL HOUSE #1
- RENTAL HOUSE #2
- RENTAL HOUSE #3
- REVIEWS
- ROUNDUPS
- SHARED ROOMS
- SHOPPING
- SHOPS WE LOVE
- STYLING
- TODDLER ROOMS
- TRENDS
- gift guide
SUBSCRIBE
Disclosure
WINTER DAISY BLOG contains affiliate links as well as advertising banners. I may receive a small commission on purchases made through links from this site. The content is always reflective of items, things and experiences that I genuinely like and I only work with companies whose aesthetic is in line with the WINTER DAISY brand.
Sponsored posts will always be clearly disclosed.