HOW TO CREATE A SCHOOL MEMORY BOX!
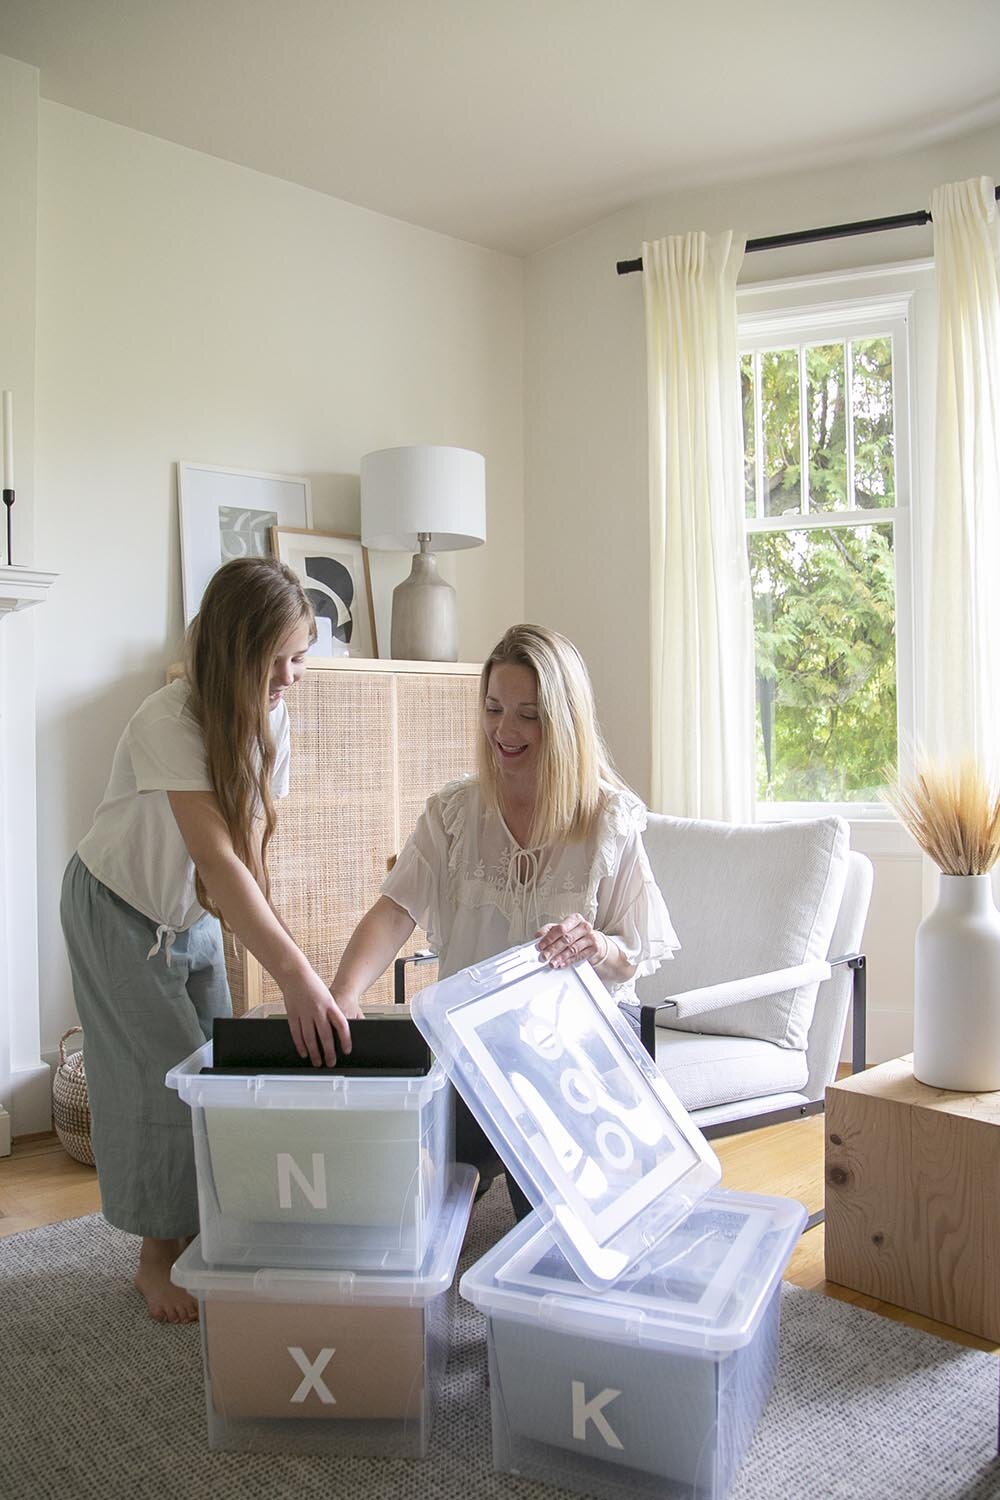
I can hardly believe that we are more than halfway through September and that the school year is well underway. I love a fresh start and I always feel like September is the ideal opportunity for a reset. It’s the perfect chance to start a good organization project and today, I’m excited to share a project that I put together over the summer: school memory boxes for our kids! I really wanted to start this year with a place for all of their art, report cards, work we’ve kept and awards they’ve earned in one happy place. This school memory box is something I have only just discovered is ‘a thing’ and even though our kids are 8 and 10, I approached this project with the same motto I approach life…it’s never too late!
SHOP THE POST…
While this is definitely not the least expensive project I’ve done, I think it’s well worth it to have a memory box that you can hand your children later in life that documents their school years in a really practical way.
Ready to make your own school memory box? Let me walk you through how I did it.
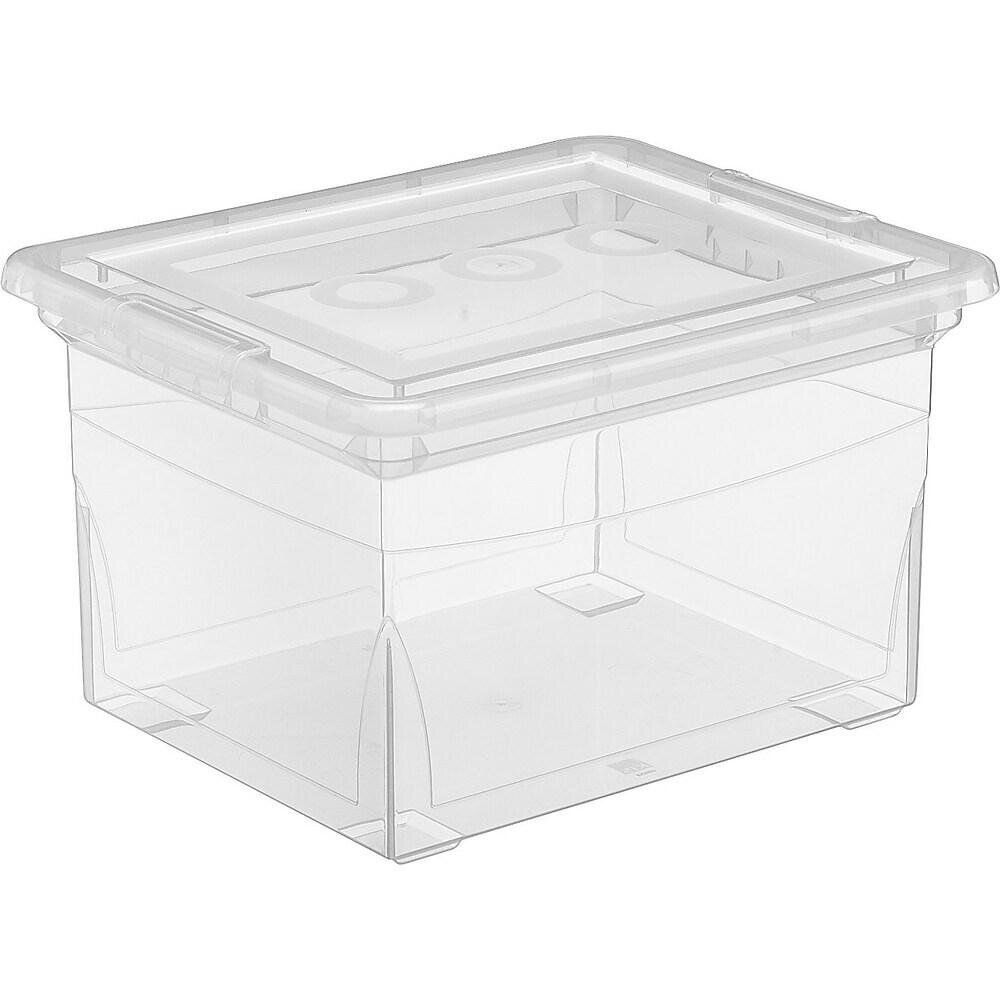
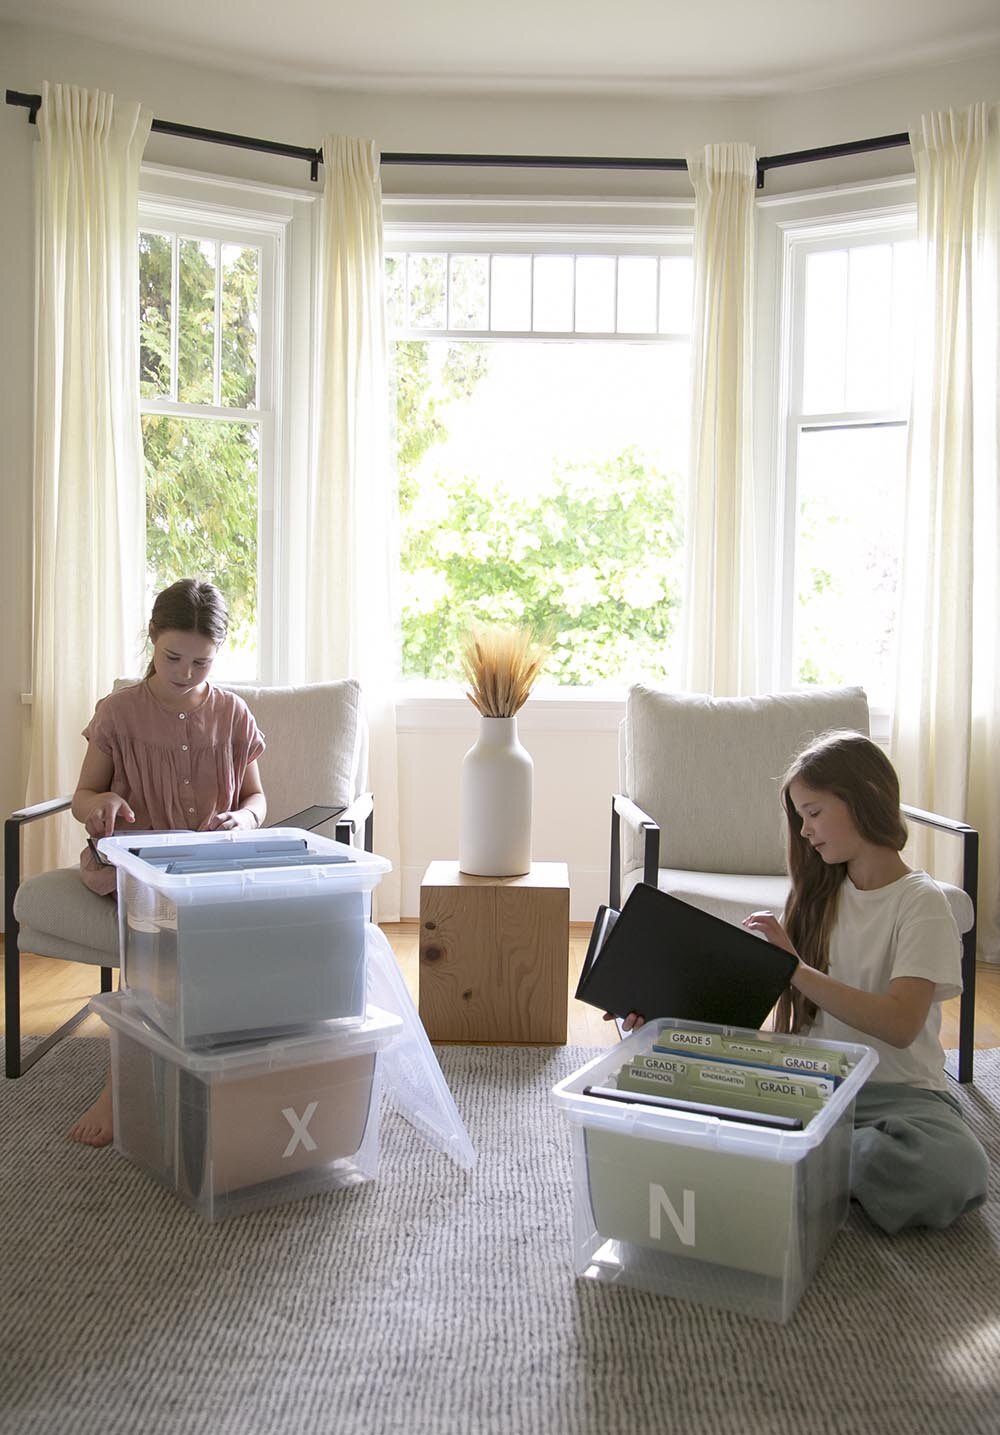
Order a letter file box. I ordered this clear box, but any hanging file box will work.
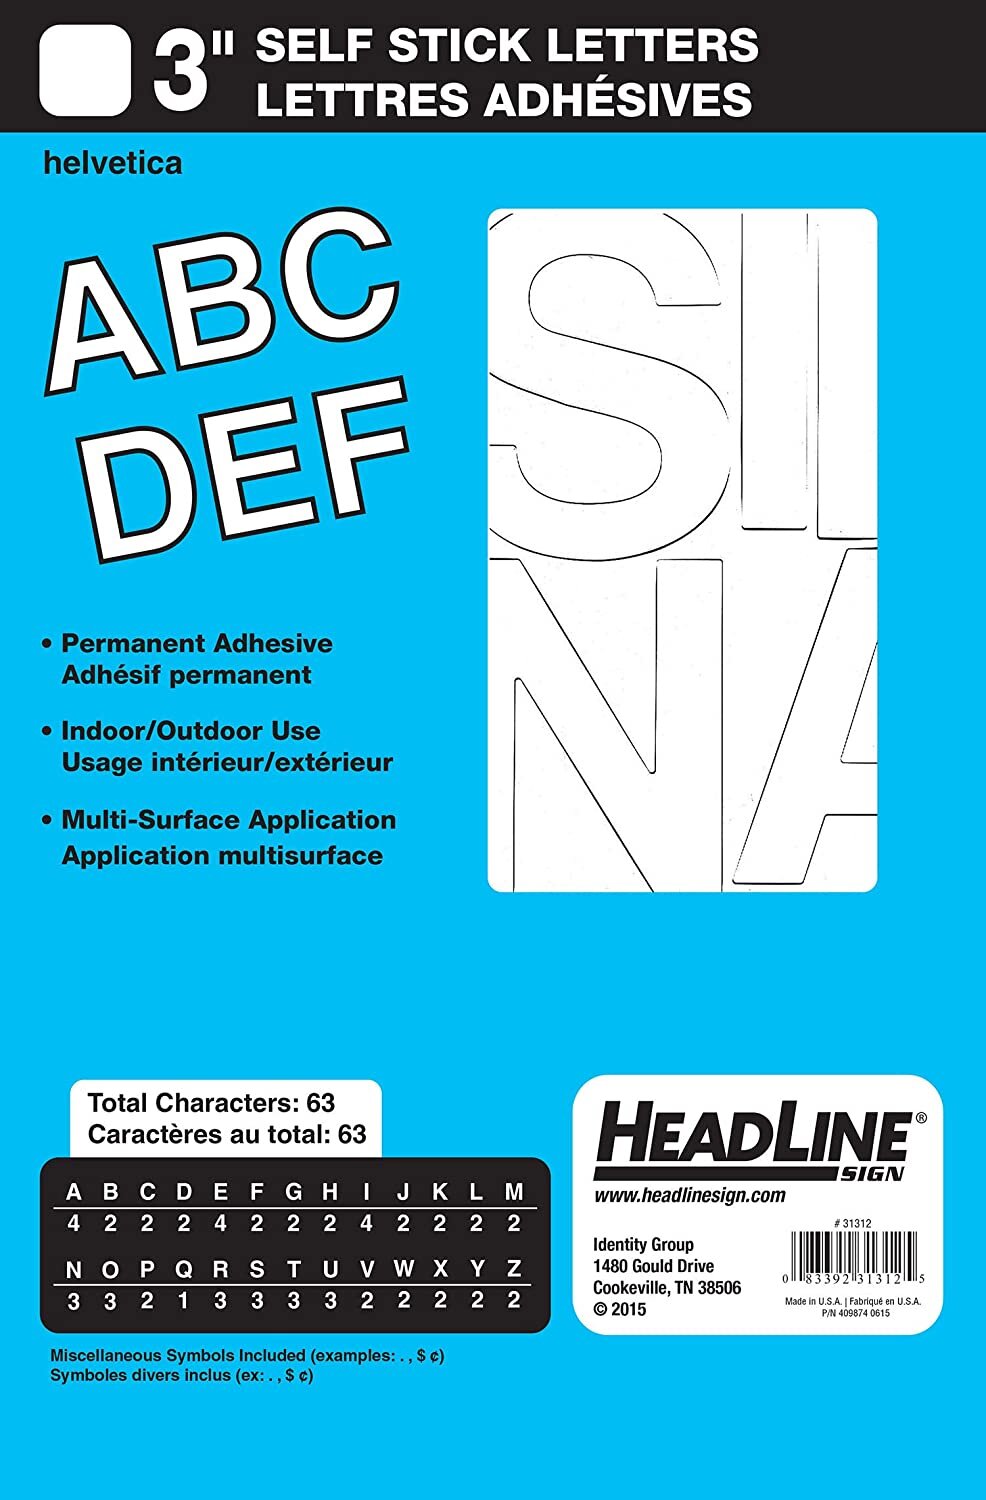
To personalize the box, use decals for either their initial or name. These white decals worked well for our kids’ boxes!
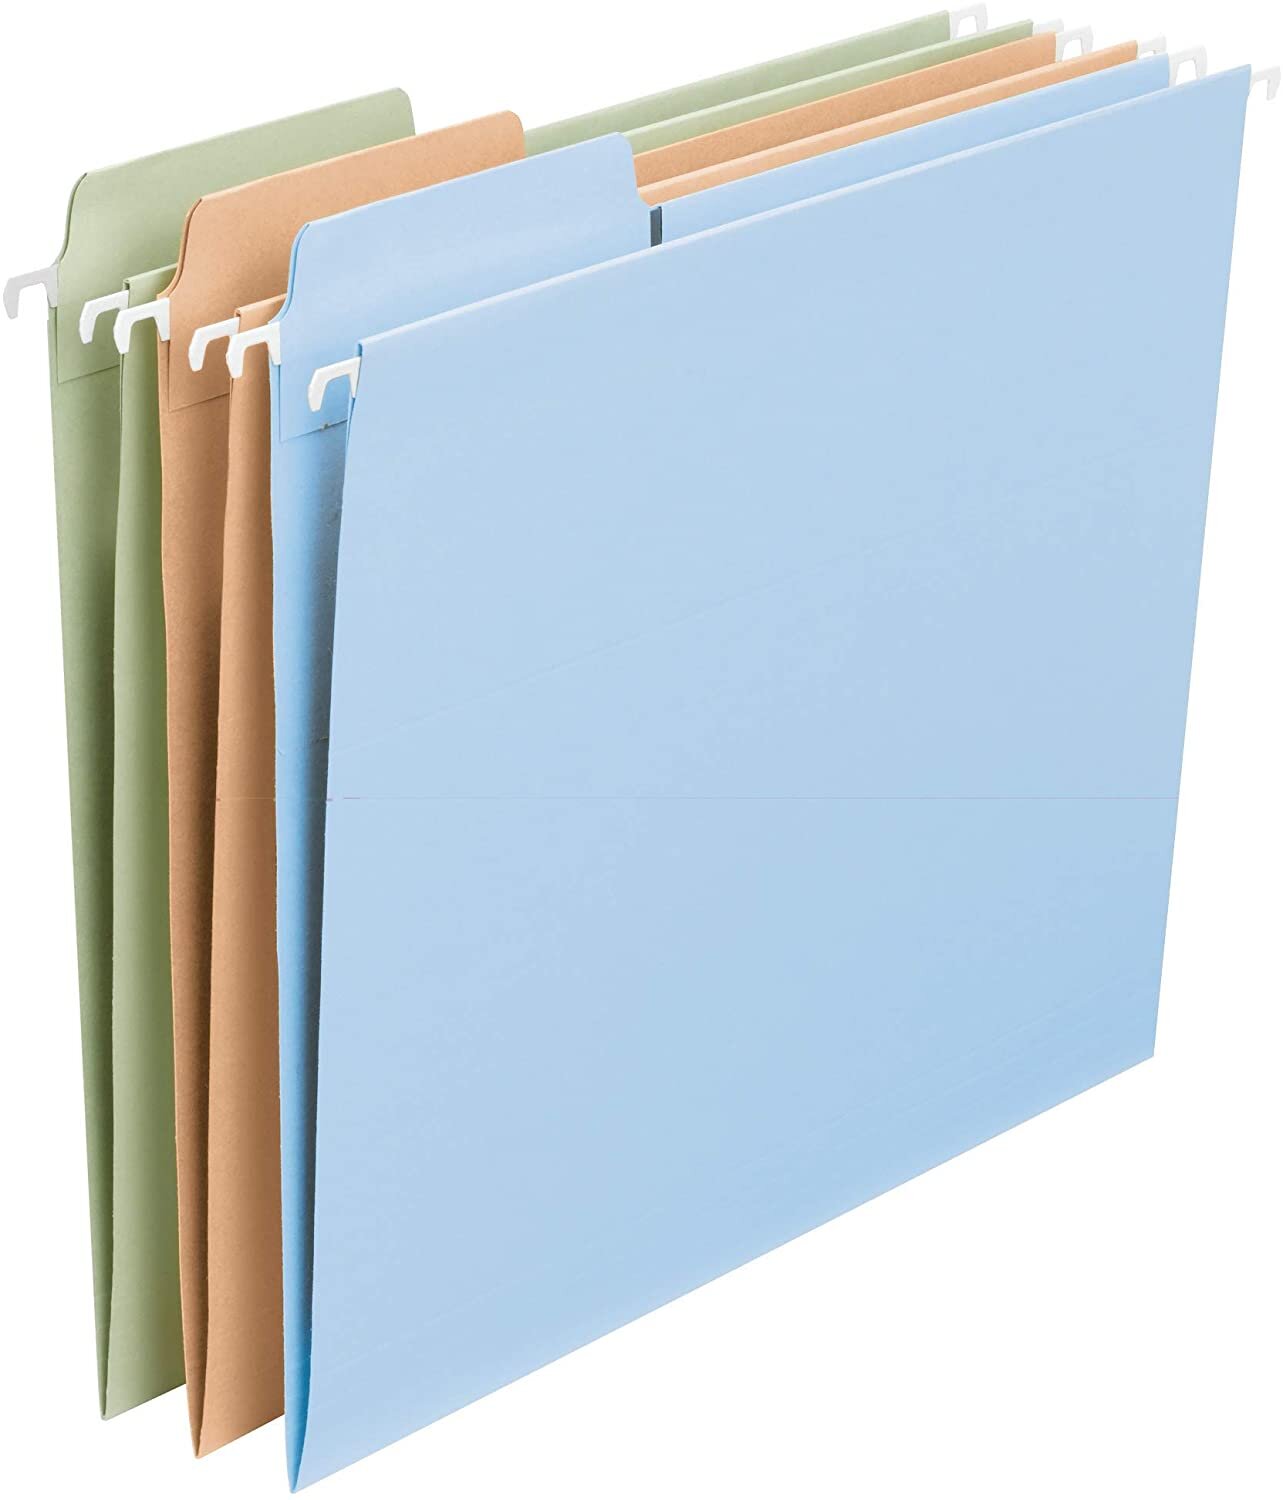
Choose letter-size files WITH tabs; I loved that these files had 3 different colours for our 3 kids!
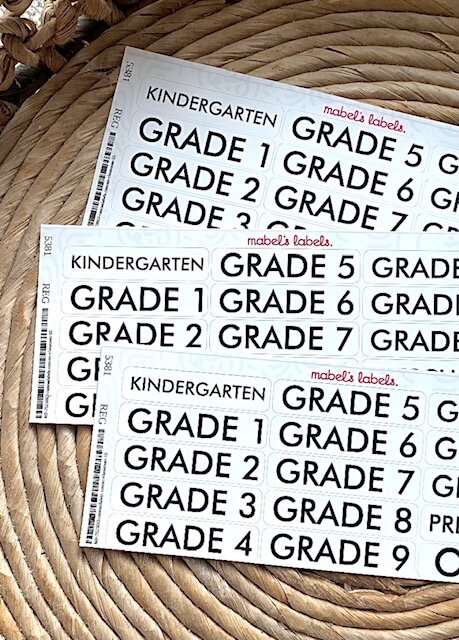
Order labels for each category/grade that you want: I used Mabels Labels and loved that I could customize them!
If you end up doing this project, I’d love to see! Tag #WDschoolmemorybox on Instagram and I’ll share them as they come in!
CAPTURING A MOMENT IN TIME {WITH MINI WHITE PUMPKINS}
It's been a tremendously rainy, windy weekend here in Vancouver and sometimes these grey and cold days lend to more indoor time with the little ones and more time to reflect on the little moments.
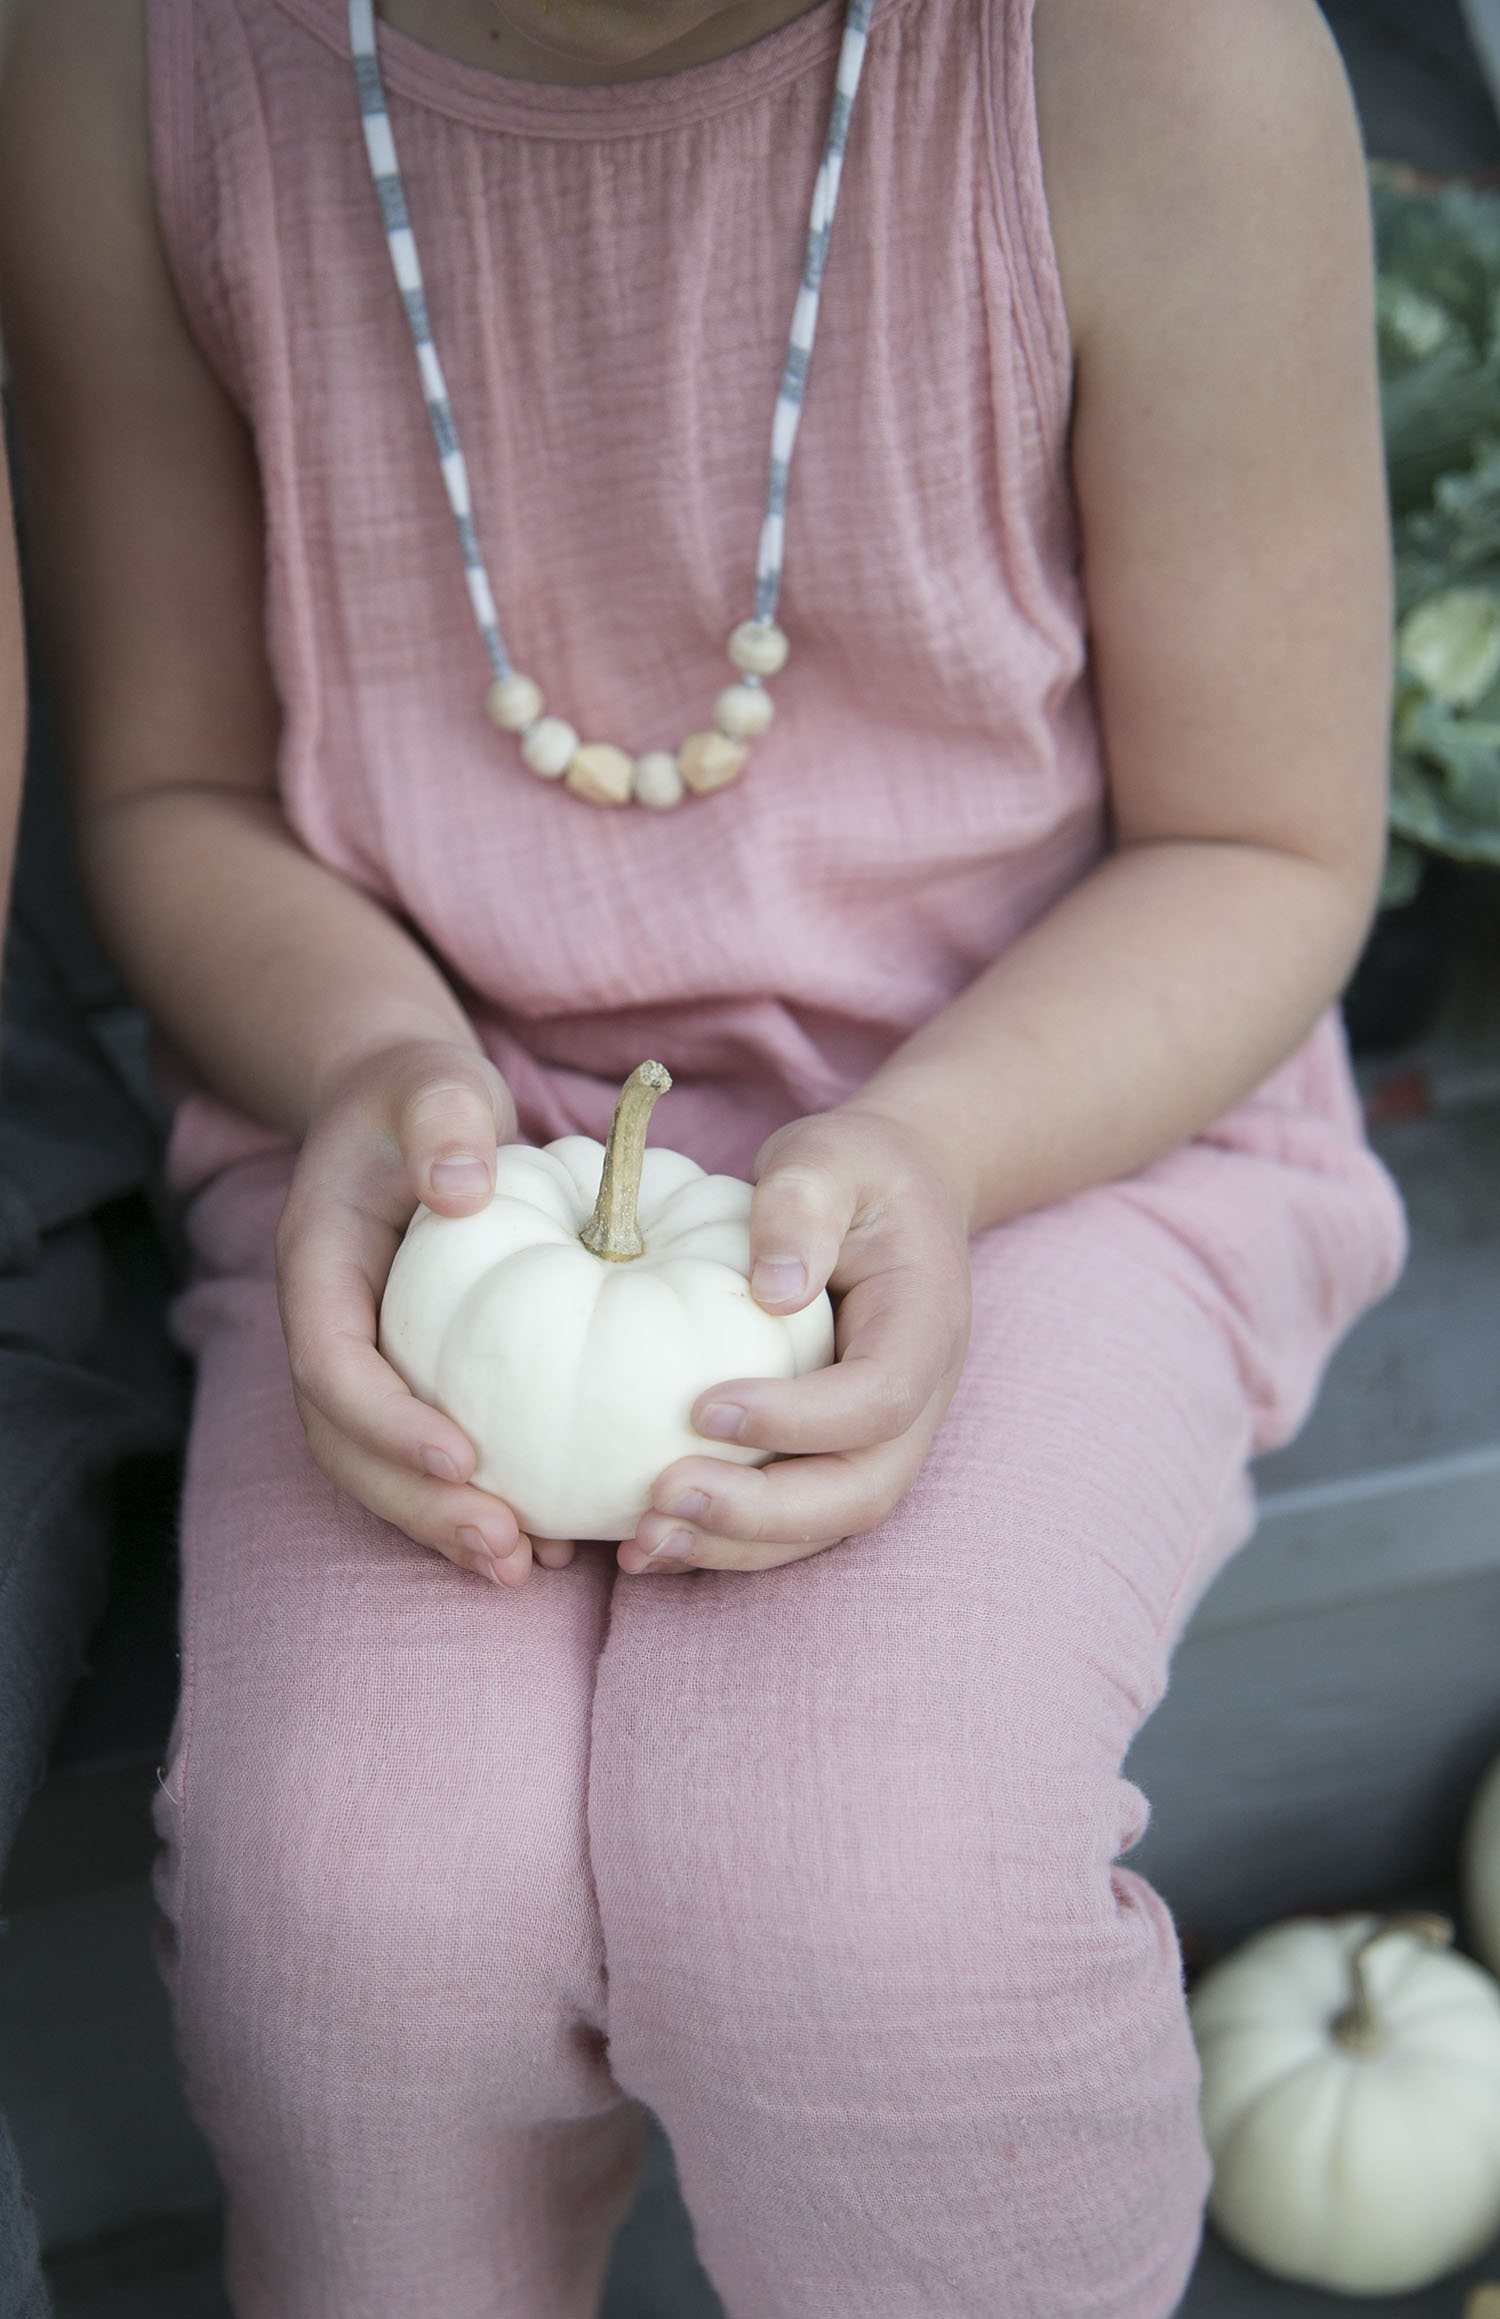
I had taken these quick shots a couple of weekends ago when the sun was out and the weather was obviously warmer. I wanted to capture the essence of autumn and the little pumpkins that I'd been trying to find around the city for a couple of weeks. I had no intention of posting them but then thought it might make sense to share how quickly I captured these (10 minutes!) and how you can create a mini photoshoot with literally a few little pumpkins and some sweet smiles!
So, instead of thinking how hard it will be, just get your kids, pop outside with the pumpkins you've collected from the farm or the store and take a few snaps! I ask them questions as I click, such as "if your pumpkin was an animal, what would it be?" I find that when they are engrossed in telling a story, the smiles naturally come out and their faces light up. If you are shooting more than one kiddo, it helps to pop them on the a set of stairs so that they are captured at the same depth (or plane) on camera, which works to keep them all in focus.
The pictures may not be perfect, but they recreate this perfect memory...our front steps, their mini pumpkins, fall 2016 and my very favourite little smiley faces. Sometimes the little moments are the ones we'll look back on and remember with the biggest fondness.
Happy Monday friends!
If you liked this post, you might like these ones too:
HELLO!
WINTER DAISY was created when Melissa Barling was laying on the couch while pregnant with twins. She dreamed of a beautiful baby room but couldn't get up and make it happen. The babies were born and in those mid night wakes and early morning feeds, she decided to leave her corporate job to start a design studio + blog. Welcome to WINTER DAISY.
Follow along on Instagram
POPULAR POSTS...
CATEGORIES
- BOOKS WE LOVE
- BOYS ROOMS
- DESIGN TIPS
- DIGITAL
- DIYs
- EFFICIENT MAMA
- FAVOURITE FINDS
- FREE PRINTABLES
- GARDENING WITH KIDS
- GIRLS ROOMS
- GIVEAWAYS
- HELLO
- HOLIDAY
- HOMESCHOOL SPACES
- HOW TO...
- I'M MELISSA
- INSPIRATION
- KID STYLE
- KIDS ROOMS
- MINI GATHERINGS
- MY FAMILY
- NURSERIES
- OH MONDAY!
- ORGANIZATION
- PICKS
- PLAYROOMS
- RECIPES
- RENTAL HOUSE
- RENTAL HOUSE #1
- RENTAL HOUSE #2
- RENTAL HOUSE #3
- REVIEWS
- ROUNDUPS
- SHARED ROOMS
- SHOPPING
- SHOPS WE LOVE
- STYLING
- TODDLER ROOMS
- TRENDS
- gift guide
SUBSCRIBE
Disclosure
WINTER DAISY BLOG contains affiliate links as well as advertising banners. I may receive a small commission on purchases made through links from this site. The content is always reflective of items, things and experiences that I genuinely like and I only work with companies whose aesthetic is in line with the WINTER DAISY brand.
Sponsored posts will always be clearly disclosed.


